
Recently I started growing bryophytes at home! I thought it would be a fun project and that it will provide me with material to play around with. Apart from the joy of growing something, there are several other good reasons for cultivating bryophytes. The cultivation of a species allows you to observe its development. Being able to reliably cultivate a species is essential for setting up genetic crosses and for many other experiments. Also, my last post ended with the realisation that one single moss shoot is unlikely to contain enough DNA for a whole-genome sequencing experiment. One way to overcome this issue is to take a sample into cultivation and to grow genetically identical clones whose DNA can be pooled and sequenced together.
Below, I describe my experiences with two moss species of Byum (I think) and one liverwort, Marchantia polymorpha. I propagated all of them vegetatively. That means that they should be genetically identical to the individuals from which I obtained tissues. In cases one and three, I used dedicated dispersal units called bulbils and gemmae. For the second sample, I simply picked a whole shoot and stuck it into some damp sand.
Grown from bulbils: Bryum dichotomum
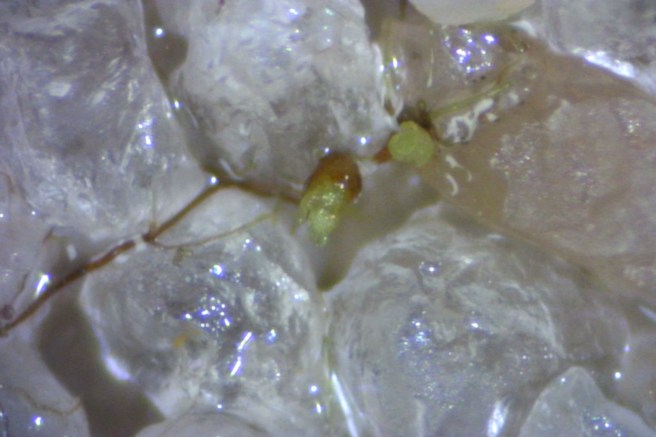
The first species I had a go at was Bryum dichotomum, which I had found on a tarmac pavement. B. dichotomum is actually a species complex, and I am not exactly sure which species I picked. Like all species of the complex, my sample carried specialised vegetative dispersal units – bulbils. There is a photo below showing these bulbils under a dissecting microscope. Comparing to Smith’s flora, I would say they look like B. dichotomum s. str.
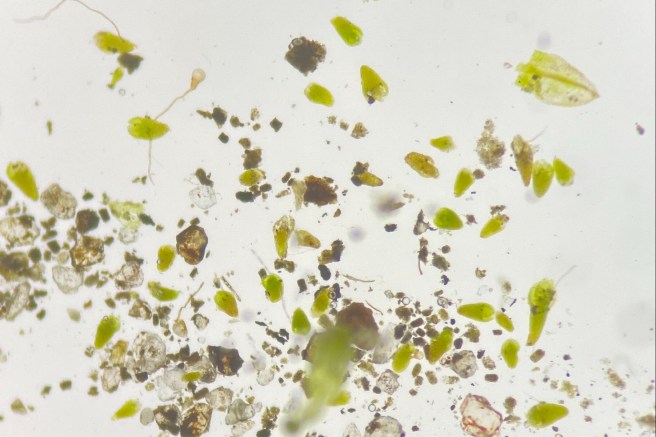
Using a plastic pipette, which I had drawn out very thin, I picked 20 of these bulbils and spent a long time dropping them in a grid onto some substrate in a plastic tub. That was during lockdown and my partner had some mantis substrate to spare, so I used that. I then placed the tub (with a transparent lid) under artificial light, keeping it damp.

After about a week, I was only able to find three of the bulbils. After a month, nothing had changed.

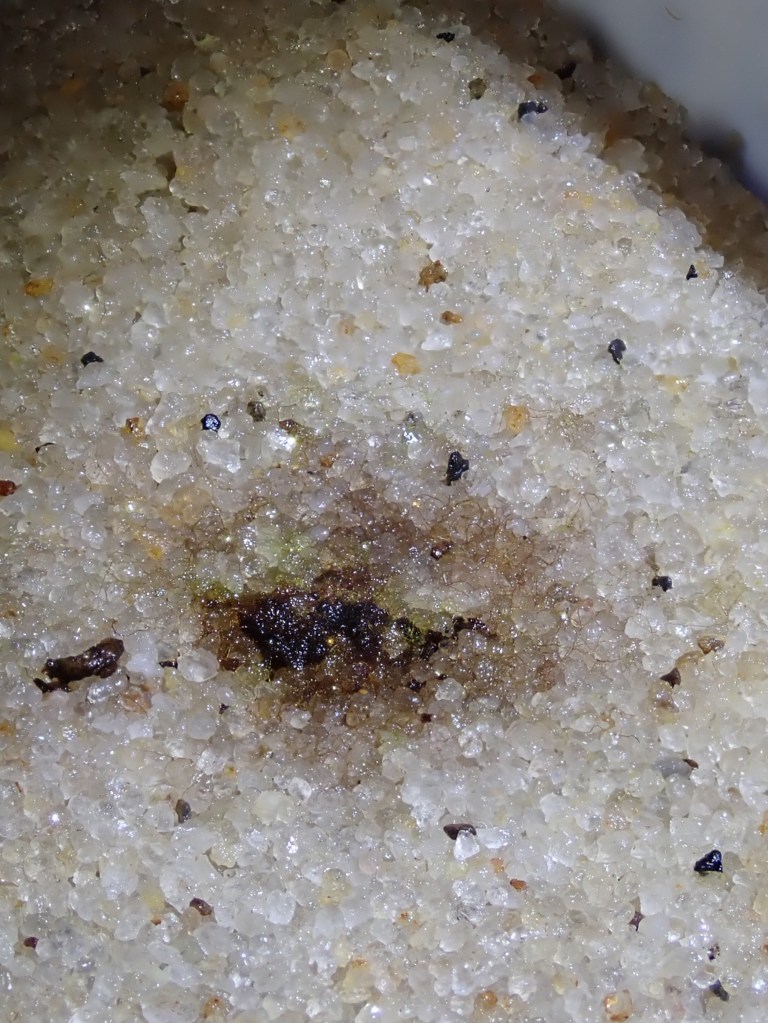
After one more week, I got tired of my boring experiment and I transferred the three remaining bulbils onto sand, which I had washed and boiled to remove contaminations. Transferring the third bulbil, I realised it was connected to the substrate by several thin threads, which I had not noticed before. So something had grown, I just could not see it. Too late – they all had to move onto sand. I am very happy did this. The lighter colour of the sand makes observations much easier. After about a week, green protonema (chloronema) had developed.

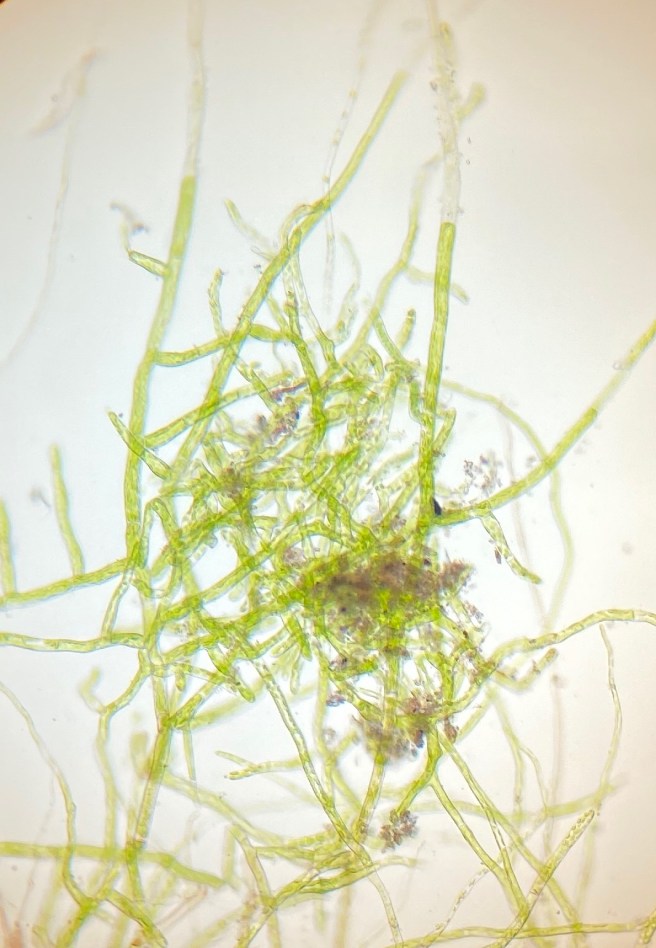
Another three weeks later, the protonema had grown much larger. Most of it had turned brown, which at first looked disappointing to me. But, encouragingly, it was still growing.
For most plants I have grown so for, turning brown meant that something had gone wrong. I was very relieved to see these little buds (photo above) coming out of the brown protonema.
From a whole shoot: Bryum sp.
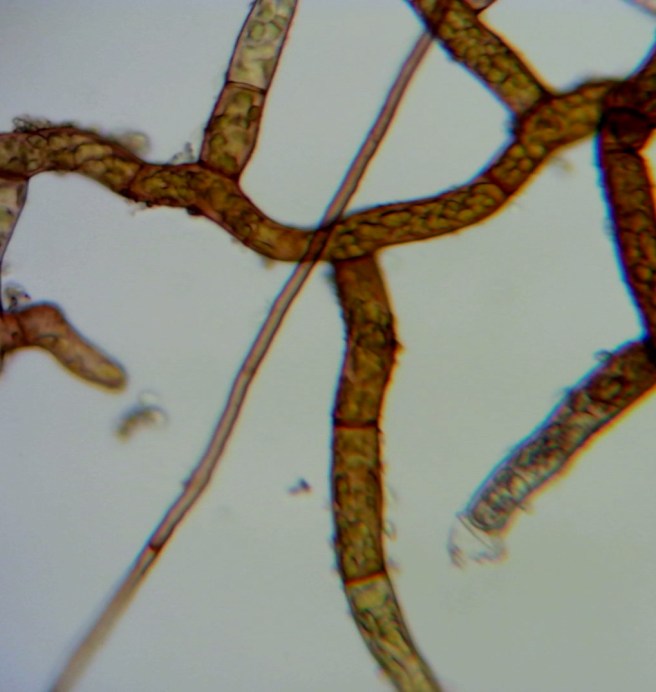
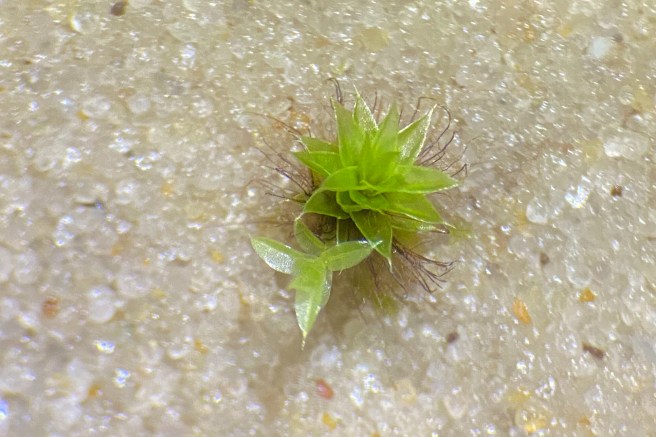
By the time I transferred the bulbils mentioned above onto sand, I had become rather sceptical of my success chances. Against one of the main rules for reproducible experimenting, I changed more than one factor at a time. I added a shoot of another Bryum species, which I had also collected from a pavement. I am certain, though, that it has nothing to do with the brown protonema of B. dichotomum, which forms separate patches. The photo below shows what it looked like after a week. The shoot had grown what looks like a side branch with a different leaf arrangement (three rows of leaves instead of a spiral). The other noticeable thing is how there are rhizoids stretching out in all directions from the main shoot. Originally, the rhizoids had looked like a dense felt surrounding the lower parts of that shoot.
Three weeks later, another shoot had appeared. This one did not branch off the original one. Rather, it originated from a rhizoid. This makes me wonder if the fist new shoot had come out of a rhizoid, too. Both new shoots have leaves in six rows now. But they initially had three rows of leaves. Compared to the original shoot, their leaves are very sparse. Might that be a result of the non-natural conditions (constant light and moisture) that they experience in cultivation?
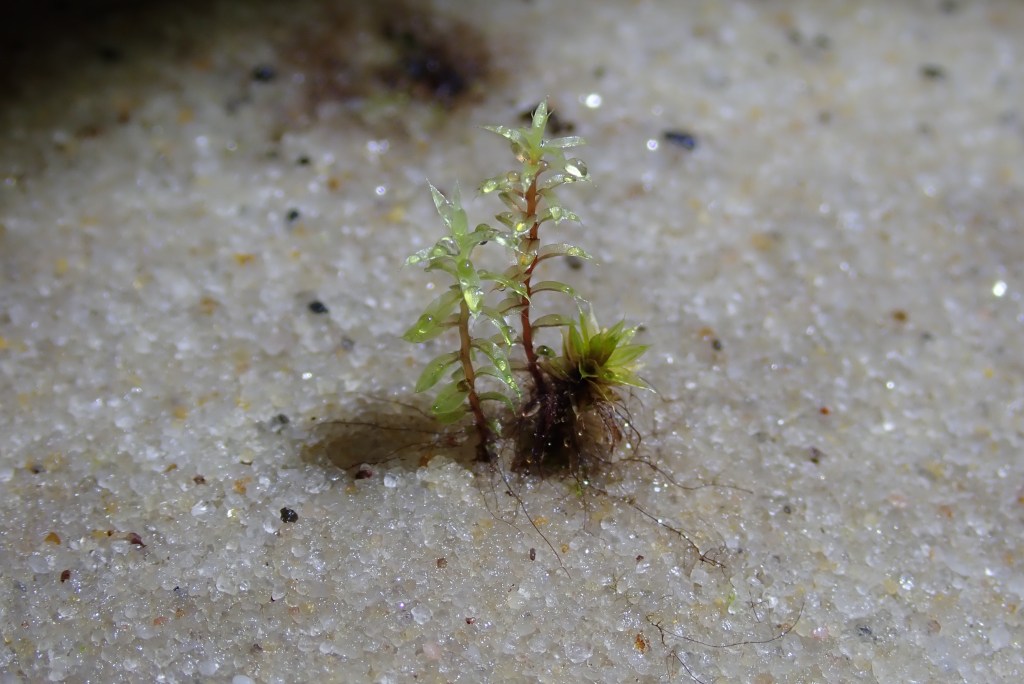
I was surprised to see how quickly a shoot with rhizoids can produce new shoots. Unfortunately, the original shoot is turning brown now and the new ones are becoming a bit chlorotic. I hope this is not going to be the end of them. There is some hope. A new bud has started growing from one of the rhizoids in the bottom-right part of the photo above.
Grown from gemmae: Marchantia polymorpha
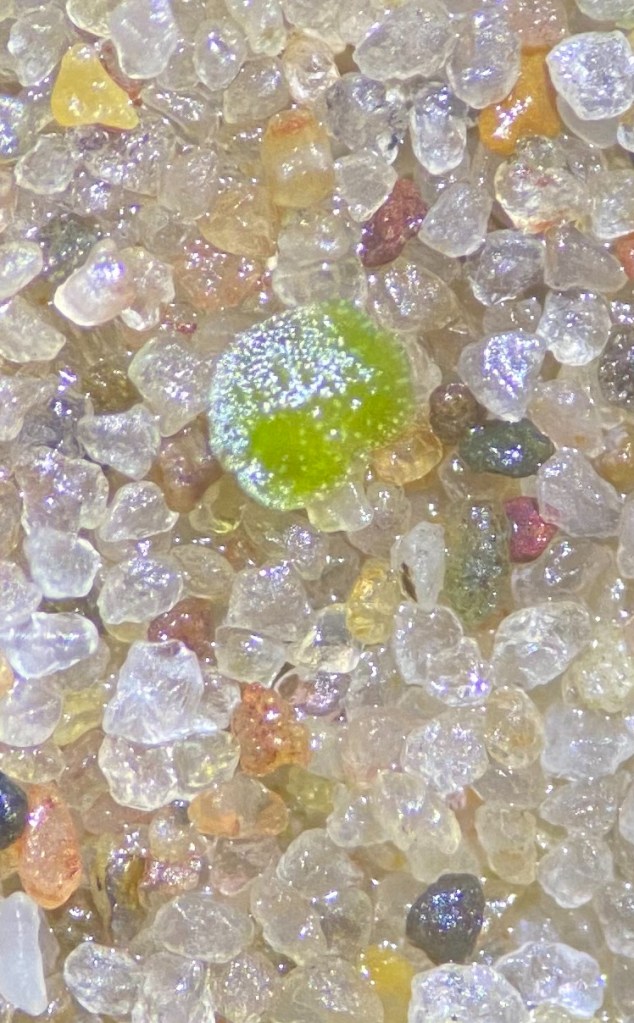
One of the best-known liverworts is Marchantia polymorpha. The species has served as a study object for a long time, and there is a nice summary here (open access). It even had its genome sequenced, which is relatively small for a liverwort. M. polymorpha is dioicous, having separate male and female plants, which carry morphologically differentiated sex chromosomes. I started growing this species using its specialised vegetative dispersal units, which are called gemmae (singular: gemma). The photo series below shows gemma development over the course of about two weeks.

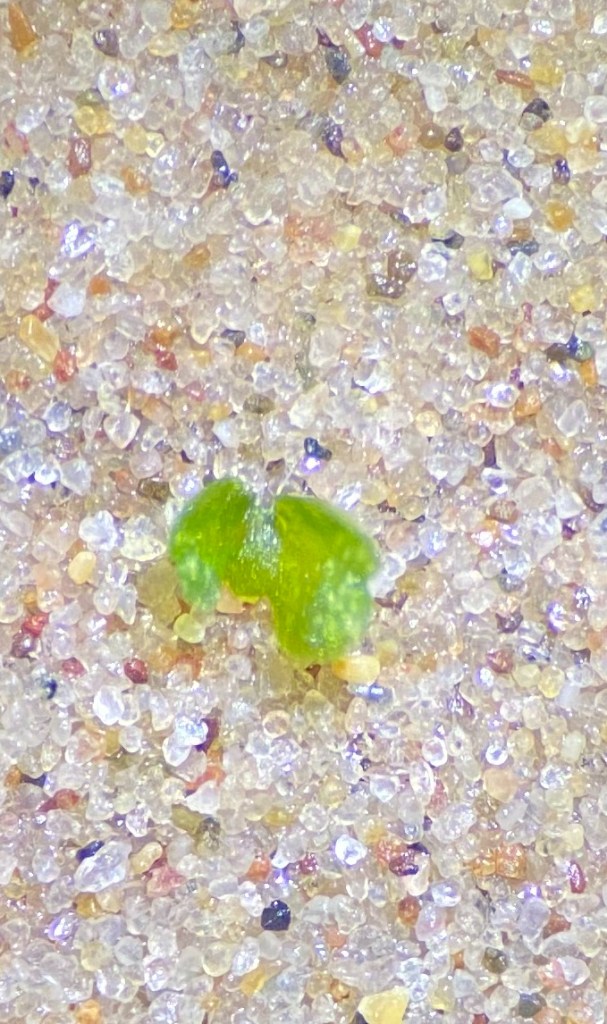
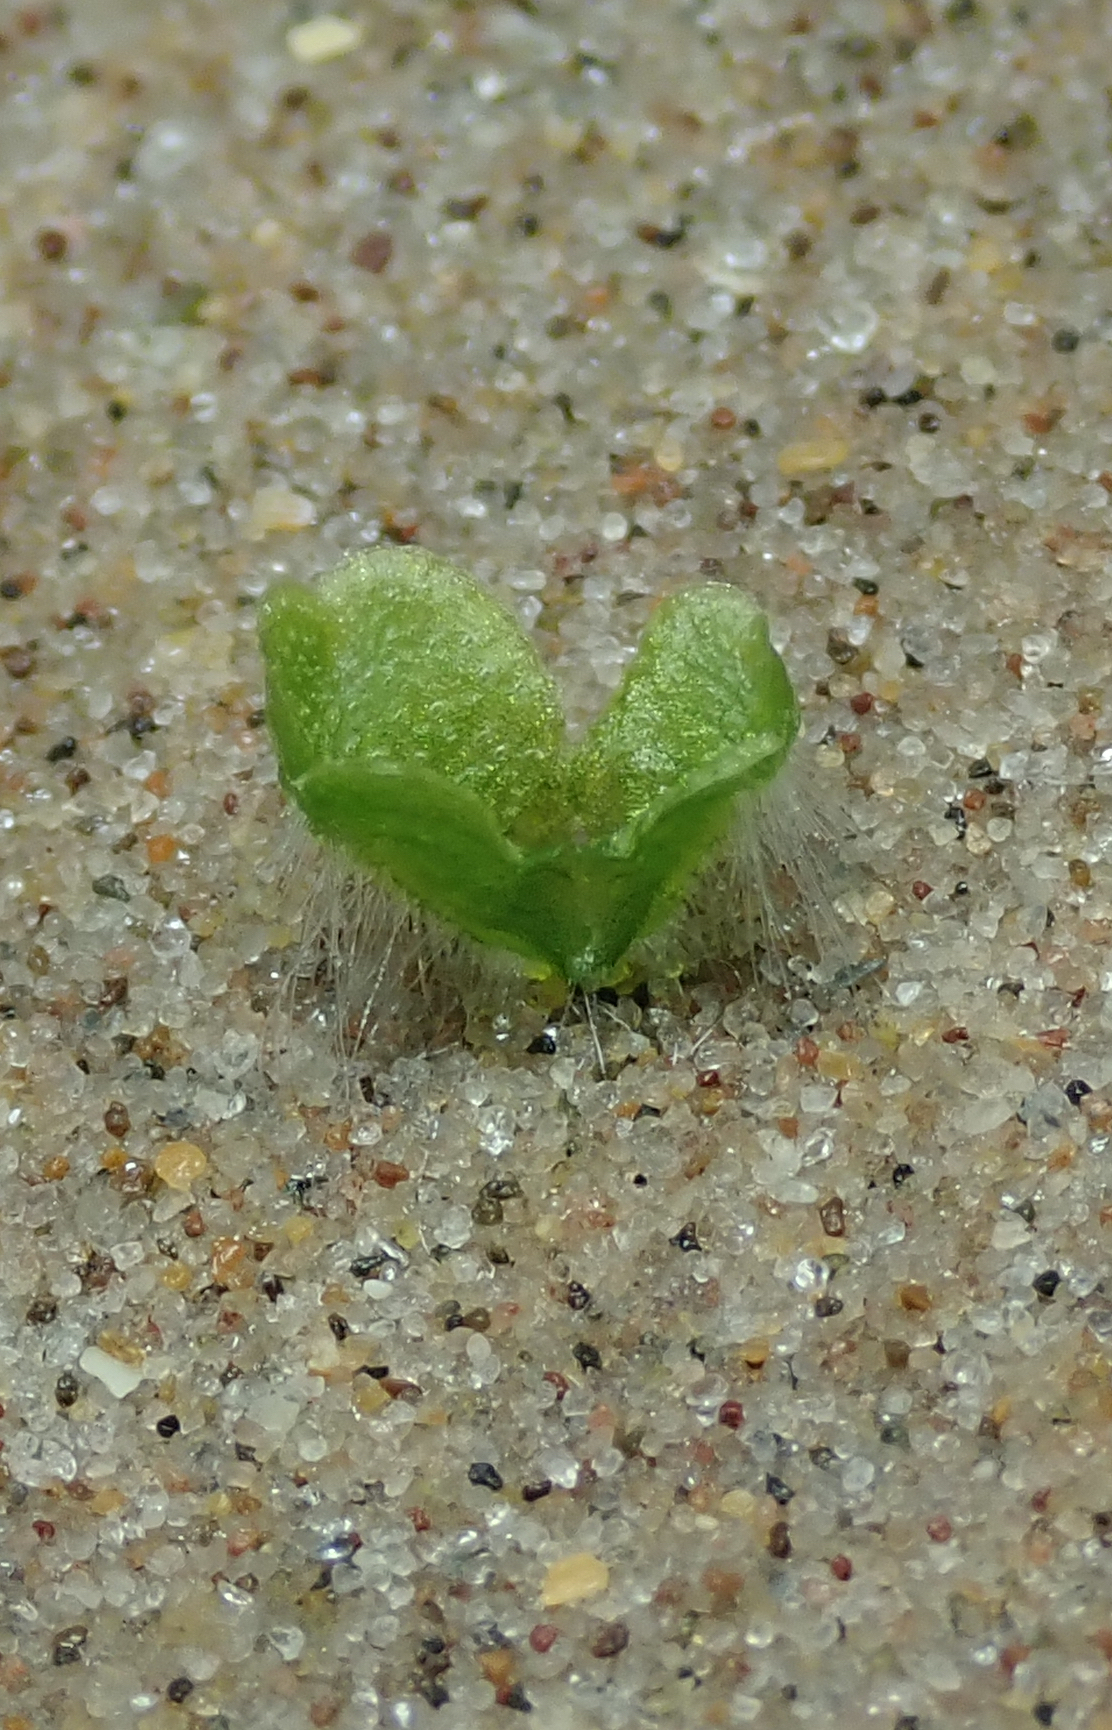
While I am curiously watching my gemmae develop into proper thalli, you may wish to fast-forward. There is a nice time lapse video on YouTube showing M. polymorpha growth.
Things I have learned
In addition to getting some joy out of growing my own bryophytes, I have learned (or at least started to appreciate better) a few things:
- Bryophytes are really good in vegetative dispersal. None of the samples that I used carried ripe sexual stages. But that is not a problem to bryo dispersal or propagation. Many species produce dedicated vegetative dispersal units like bulbils or gemmae. Even if there aren’t any of these, bryophytes can multiply by growing out of broken-off pieces.
- The presence of multiple shoots does not imply multiple origins. The protonema grown out of each of the three B. dichotomum bulbils are about 2 cm in diameter. They have just started to produce buds. Each bud will give rise to a shoot, but all shoots will be genetically identical. Eventually there will be whole cushions grown out of each protonema (I hope). I wonder though how often does it happen that multiple protenemata grow intermixed giving raise to genetically mixed cushions?
- Protonema is an important part of the moss life cycle. I used to consider protonema a some brief intermediate step before the “real” moss plant grows. Looking back on months of protonemal growth, I appreciate that protonema can grow to a considerable size and the larger it becomes, the larger can be the amount of biomass generated following a single dispersal event. (I have read, however, that liverwort protonema is ephemeral and much less important.)
- Rhizoids may give rise to new shoots. At least one of the two newly grown shoots of my second Bryum species had grown out of a rhizoid. This suggests to me that is is very easy to grow new shoots from existing material. No branching or original protonema are needed. At least for that Bryum sample, planting one shoot in damp sand is enough. This raises the question how rhizoids are different from protonema.
- Cultivation on sand seems to work well (so far) for the species I have chosen. I was concerned about contaminations because at home, I cannot easily grow samples under sterile conditions. So far, I have had no problems with fungal or algal growth. The sand that I chose also has the advantage that it contrasts the bryophyte tissue well, making it easy to spot little changes over time, and to take photos.
Future plans
I am looking forward to extending my living collection, which may require some dedicated furniture. The three samples I wrote about grow happily on my desk, but I am planning to set up some sort of lit shelf for future accessions.
It would be really nice to observe sexual reproduction. Ideally, I would like to follow a whole life cycle in culture.
I wonder wether different species prefer different culture conditions. Many species growing on walls and exposed rocks regularly dry out for long times. Can they grow in permanent damp conditions? And what about epiphytes and species of rotting wood? Will it be possible to cultivate these? Do they require their native substrate? Will that cause problems with fungal growth? I may have to experiment with different conditions.
It seems that I have identified a new hobby and I shall keep you updated about it.

One thought on “Bryo cultivation – First attempts”